3d printing
08 Jun 2020

Nano Dimension’s CEO Yoav Stern is talking about new trends to create PCBs

Jul 30, 2019
 Anyone who has built a proof-of-concept PCB should be intimately familiar with the problems involved in breadboards. Although breadboards allow you to arrange and rearrange components on a test platform while you experiment with your design, the behavior of the proof-of-concept will not always match the behavior of the finished device. Connections on breadboards can be weak, the lack of a reliable return path for signals affects EMI susceptibility, crosstalk, and other aspects of signal integrity, and breadboards can mask the manufacturability of your new device.
Using an Arduino board may be a better idea for developing your proof-of-concept or prototype, especially if your device will run at MHz speeds and requires wireless communication over Bluetooth or WiFi. Arduino boards are very popular and are the perfect platform for entry-level projects, including Arduino 3D printing projects.

Using an Arduino board for prototyping
Arduino boards are also great for developing a proof-of-concept on an integrated platform. Using an additive manufacturing system for new electronics gives you the freedom to rapidly prototype a new device that connects directly to an Arduino board, allowing you to take advantage of both technologies. The rapid manufacturing capabilities provided by any 3D printing system will ultimately speed up each design, build, and test iteration and help you create a working product in less time.
When component manufacturers create and manufacture a new device, they will often design and produce an evaluation board for use with the component. These boards are quite useful because they contain a fully designed and validated circuit that allows designers to build and test circuits around a new component. These boards can be a bit expensive, as they are produced with low volume, but they are clearly the superior choice over breadboarding. From a signal integrity standpoint, an evaluation board is a complete PCB that is designed to meet the performance requirements of the component. This also allows designers to test components in situations that more closely match a real production environment.
With novel 3D-printed components and devices on PCBs, you’ll need to test your board in the same way as you would with a new component and an evaluation board. Your new device may also need to interface with an external device or with a computer. Using an Arduino board can nicely complement the capabilities of your 3D-printed PCB and can be used to test specific functionality of your new device.
Arduino boards include plenty of useful functionality that can complement your device. They are also reusable, allowing several 3D-printed prototypes to be tested without repetitive assembly of a complete prototype on its own board. If you are developing a 3D-printed sensor, antenna, or another device with unique functionality or architecture, you can focus on testing the novel aspects of your 3D-printed board using the features built into Arduino. Once you determine necessary redesigns, you can quickly modify only the necessary portions of your 3D-printed prototype.
The processing capabilities and integrated development environment on an Arduino also allow you to experiment with embedded software for your next 3D-printed prototype. As an example, devices like sensor arrays and IoT devices require some processing power and wireless communication. Building your 3D-printed prototype sensor array for use with an Arduino allows you to focus on developing the functionality of your prototype and the associated embedded software for data processing. This allows you to narrow down the required electrical redesigns that are necessary to produce a working 3D-printed device during product development.

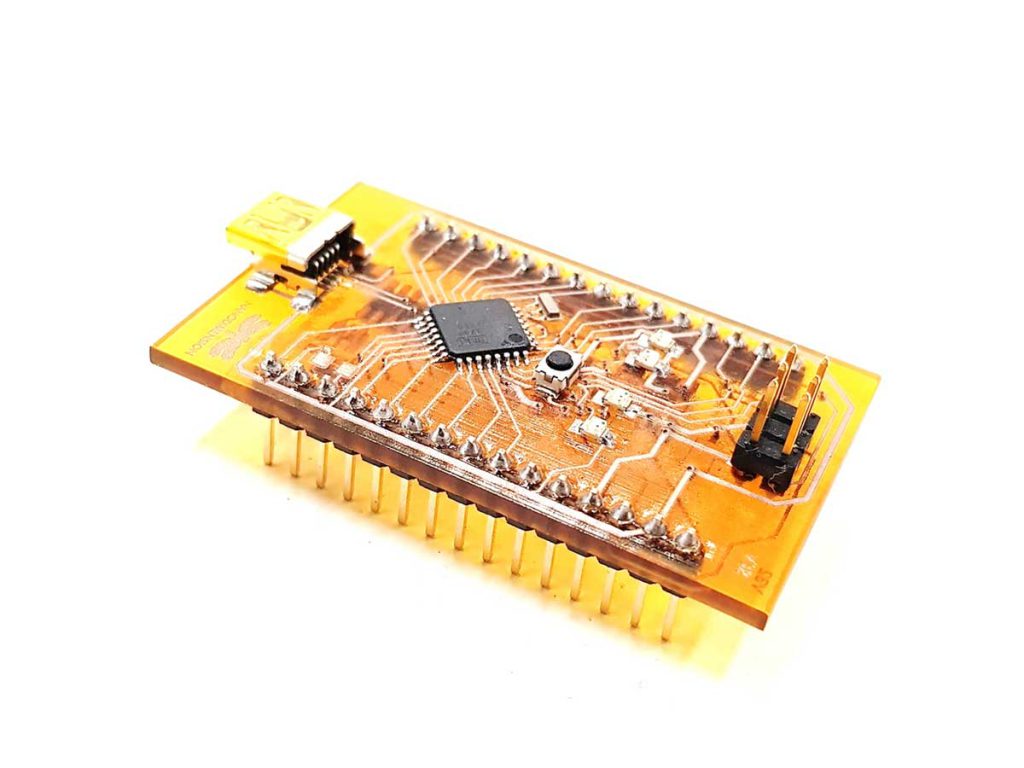
One of many customized Arduino 3D printing projects.
If you want to continue taking advantage of Arduino’s capabilities, you can use an additive manufacturing system to 3D print your own spin-off of an Arduino board. The schematics and other data on Arduino boards are freely available, and you can recreate the schematic and layout for an Arduino board in your favorite design software. With the right 3D modeling plugin, you can then adapt your PCB layout and Gerber files as 3D printing instructions.
This allows you to customize an Arduino board by adding or removing some functionality from the open-source schematic. You can also integrate a new 3D-printed device directly onto your custom 3D-printed Arduino. As 3D printing systems provide PCB designers with significantly more freedom to adapt their board shape and form factor, you can go even further and adapt a non-planar geometry onto your custom Arduino.
The custom capabilities you can add to a 3D-printed Arduino board are not always accessible with traditional PCB manufacturing processes. Using an additive manufacturing system to integrate new functionality on a 3D-printed Arduino board also expedites prototyping and testing, closing the gap on R&D cycles and decreasing time to market.
Now you can produce your Arduino 3D printing projects for cutting-edge electronics in-house with the award-winning DragonFly LDM additive manufacturing system from Nano Dimension. This system is designed to 3D print electronics with unique functionality, and the devices you create can easily interface with an Arduino board. Read a case study or contact us today if you’re interested in learning more about the DragonFly LDM system.

Be informed of the future of additive manufacturing &
3D printed electronics

